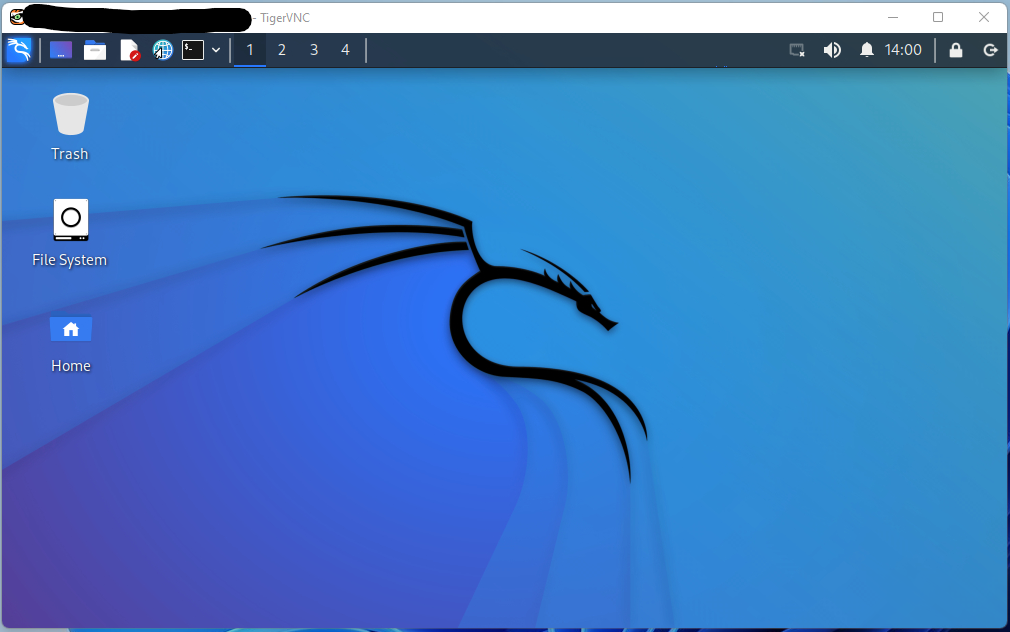
I needed to do some assessment work and the computer I had available was a Windows 11 Pro machine that was joined to an Azure Active Directory (AAD) domain. I wanted to run Kali Linux because some of the desired tools are pre-installed there
Can this be done? Of course!
There are a few options worthy of consideration.
First, I could have formatted the computer and done a fresh bare-bones install of Kali. I didn’t do that because I needed to use Windows 11 for some other work.
I could turn on the Hyper-V feature of Windows 11 and then install a Kali as a virtual machine with all the capabilities available in Hyper-V. A good possibility but I viewed this as a “heavy” solution that I didn’t want, and I didn’t want to learn Hyper-V.
Another option would be to install Oracle VirtualBox or VMWare Workstation – similar to the Hyper-V solution. A significant downside with this option is that additional software is being installed on the Windows computer. Updates and configuration must be maintained. I’d rather not install something else!
However, the option I landed on probably involved a bit more work up front. I decided it was time to install WSL2 with Kali running and for the GUI to be available. What follows reflects my learning – both the successes and failures.
So, here’s a step-by-step of what I did…
Step 1 – Ensure that I have the ability to elevate privileges so that I can run programs as an administrator. Check.
Step 2 – Run Powershell as administrator. I already have admin rights to this computer so this is easy.
Now, Microsoft has a great document about installing Linux on WSL in Windows – Install WSL | Microsoft Docs. There are some good things there.
Step 3 – Install WSL
At the Powershell prompt (while running as administrator) do this command
wsl –install
This will configure wsl and install the default Ubuntu Linux distribution
When this is complete, there will be a message to reboot to complete the configuration. Do it! When it reboots you will see a command prompt while it is finishing the installation.
and it will probably tell you that it is completing a previous installation.
wsl –install -d ubuntu
You will be prompted for a new username and password for that Ubuntu Linux installation
Step 4 – Set Terminal as the default command line (optional)
Start Terminal from the Start Menu. You will probably see a prompt at the top of the window telling you that you can make it the default terminal application. If there’s not a link there, you can find the Settings for Terminal and make the change there.
Step 5 – Now we need to install Kali
Run Powershell as administrator again
If you’re already running Powershell, but not as admin, elevate privileges with
start-process powershell -verb runas
I’m read somewhere that if we install from the command line that an older version of Kali will be installed.
The solution is to go to the Microsoft Store and search for ‘Kali Linux’. Install that package
Open it and set up the username and password. If you’ve used older Kali instances you are used to having credentials of root/toor. You’ll need to create a different username to run as
Kali is now installed in WSL2 on Windows 11 !!!
You can verify your version of Kali with this command
cat /etc/os-release
Note that per the on-screen message, this is a minimal installation of Kali
Step 6 – Let’s get the rest of Kali installed
Update the Linux repository
sudo apt update
Install the full package
sudo apt install kali-linux-large
Go through the package configuration on-screen… This will take a while to install.
NOTE: At this point, WSL is Nat’d to the default network and may cause some grief when using Kali applications involving ports and the like (nmap might have some issues)
Step 7 – Let’s get the GUI working now
Update the repository again – sudo apt update
Now install the Win-KeX package – see Win-KeX | Kali Linux Documentation
sudo apt install -y kali-win-kex
Start that GUI up!
Kex –win -s
If you get a firewall notification, you need to Allow access
Add the password for the server. No need to add a view-only password
NOTE: if the gui is not started automatically, then exit Kali and restart, then do the KeX command
Kali will run full-screen. Access the TIgerVNC popup menu with F8, deselect FullScreen to put Kali in a window!
Kali applications are in the Win11 menu. They can be used when Kali is in gui mode
So now, to use this…
-
- Start terminal
- Open a new session to Kali
- Execute kex –win -s
- In the resulting full-screen Kali UI, press F8 and deselect FullScreen to become windowed.
- When done, close the Kali GUI. Type exit in the Kali terminal
Here’s a screen shot of Kali in a window on Windows 11 . . .

I’ve still got some things to do…
- Make the configuration changes for bridged networking
- Figure out how to make Seamless mode work for Kex
And some links that are very helpful…
Win-KeX | Kali Linux Documentation


