There are many reasons to limit the types of websites that are accessible from your work or home network. A couple of the most common are (1) to keep inappropriate material from being accessed, and (2) protect from known websites that serve malicious software or host known phishing websites.
DNS filtering is one of the simplest things you can do to improve the defenses of your home or business. It can be used to limit access to certain types of sites on the internet.
DNS refresher
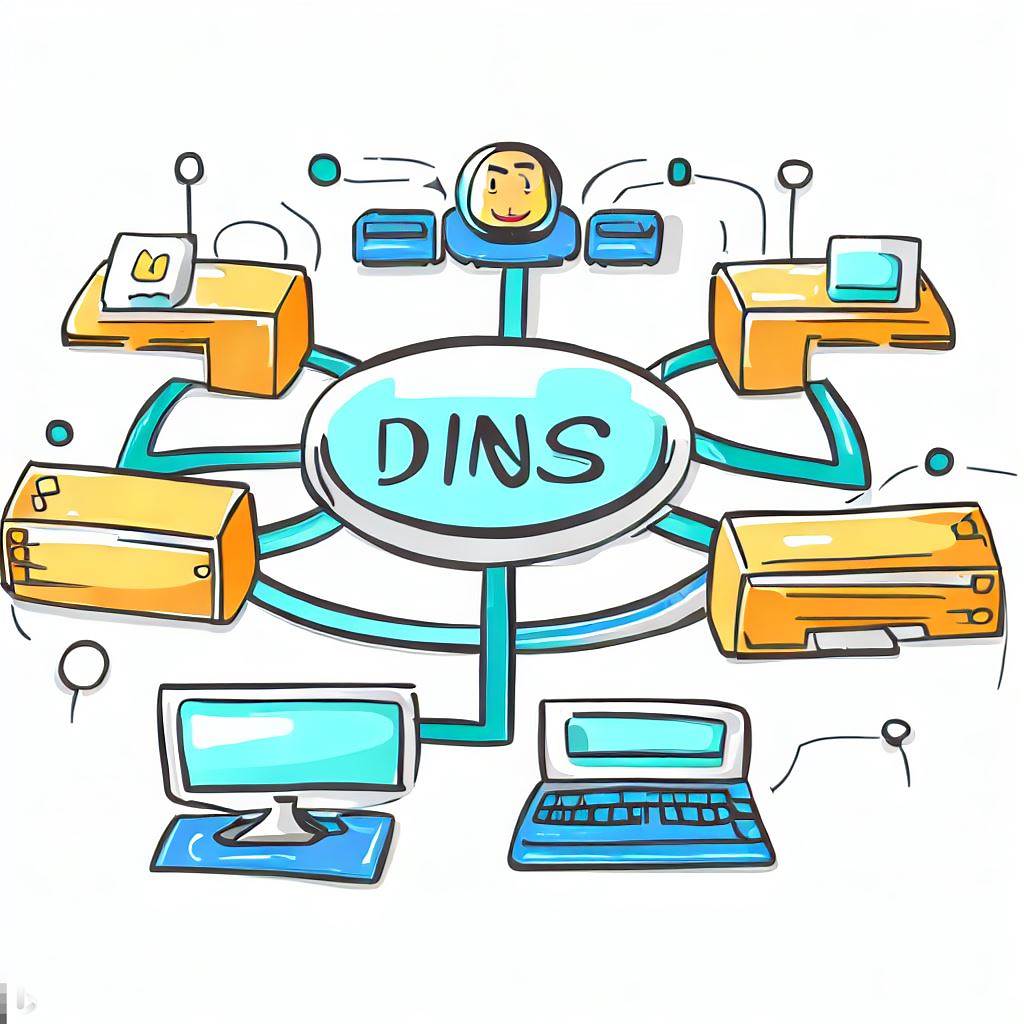
Every location on the Internet is assigned an IP address. We can get to any website by typing the IP address in the browser address bar, but who can remember all those numbers? It’s easier to remember cnn.com than 151.101.67.5. Fortunately, DNS services provide for mapping the IP address to the name. Most often, homes and small business use the DNS server that the Internet provider points them to. And when you type cnn.com in your browser address bar there is a mechanism to map that name to the correct IP address.
With DNS filtering, your network points to a DNS server that knows which websites serve inappropriate content, malicious software, or host phishing websites. And if any browser on your network attempts to access a website that matches the block criteria (malware, gambling, porn, etc) then the computer browser is redirected to a “This Website is Blocked” web page.
Many techniques exist for filtering access to certain Internet sites. Here’s a rundown of some options…
- Known bad websites can be added to the block list within the browser of each person.
- You can add browser extensions that block ads, popups and malicious websites.
- Windows has a built-in tool, SmartScreen, that warns that a website is unsafe.
- There are many other web filtering options specifically designed for use by families with children.
Those options are all implemented and controlled at the individual computer/browser level.
Wouldn’t it be nice to control this at the network for everyone? It CAN be done with DNS filtering! (Yes, there are other options such as running specific software or services on your router/firewall.)
There are two frequently used services for DNS filtering.
- The first is OpenDNS at https://www.opendns.com/. Here you can create an account that allows for reporting of how DNS is used on your network.
- The second is Cloudflare for Families. Information can be found at https://blog.cloudflare.com/introducing-1-1-1-1-for-families/. This is set-and-forget service without reporting.
These services are similar. They both have DNS servers that you can use to provide filtering. The primary difference is that OpenDNS allows you to have more control over what is blocked thru a control panel. CloudFlare has two options for DNS server – one of them block malicious software (1.1.1.2) and the other blocks both malicious software and adult websites (1.1.1.3).
You can check all the details on the OpenDNS and Cloudflare websites that are linked above. They both are free for home use but you should plan to pay for the services if you are using them for business.
It’s really simple to make the configuration changes to use these services. The only criteria is that you must be able to log into your router/firewall and make changes.
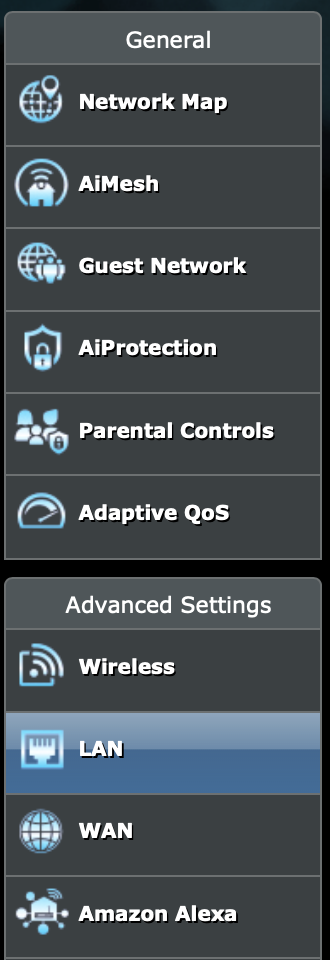
Now, because there are so many different routers/firewalls, it’s impossible for details to be provided. But here’s the general process and some screen shots from an Asus RT-AX55 router.
Once you’ve logged into the management interface of the router/firewall, look for something like WAN DNS Setting. In our example, WAN is a selection on the left side. This sets the DNS server that is used by the firewall.

And WAN DNS Setting is visible. Change the DNS server to 1.1.1.3 (or 1.1.1.2) for Cloudflare, or 208.68.222.222 and 208.67.220.220 for OpenDNS.

Now we are going to specify the DNS server that will be assigned for every device that connects and asks for DHCP configuration. Look for LAN as a selection on the left side.

Then within the LAN-DHCP Server section, set the DNS Server to 1.1.1.3 (or 1.1.1.2) for Cloudflare, or 208.68.222.222 and 208.67.220.220 for OpenDNS.

Save the changes and it will be in effect! Any device already connected will need to reboot in order to get the new DNS assignments.
Now you’ve improved how your company is protected on the Internet!
NOTE: It’s important to understand that any of your users with some technical chops will be able to figure out how to bypass this filtering. There are additional steps that can be performed to make bypass more difficult. We’re not going to go into bypass and bypass limiting in this post.


